Mother's Day is approaching and this will be Wendy's first. Recently, her mother and grandmother came into Ms Peggie's Place in search of a miniature crib and dresser to give Wendy as a shower gift. Neither of them were miniaturists, but thought this would be a novel way to hint to Wendy of the special life sized gifts that were on their way. They later told us of Wendy's delight and the smiles the miniatures brought to the shower guests. Perhaps one day Wendy will furnish a room box with this gift and we'll be glad to help her.
Since most of the folks who visit Ms Peggie's Place are not searching for shower gifts but furnishing miniature nurseries, we do have a nice selection of baby needs from cradles and cribs, to carriages, changing tables and high chairs, as well as the accessories found in a typical baby's room, most in 1:12 scale. For those thinking ahead, we even have the Houseworks expectant mom doll, Joy.
Baby's sleeping arrangements include a handsome modern look dark wood cradle as well as a more traditional wicker bassinet trimmed in white and pink. There are the standard cribs, both simple and decorated, along with those a bit different, such as one model in white wrought iron. Changing tables are available to match or contrast as well as a cute hook arrangement for clothing.

Beautiful spring weather means outdoor trips and Ms Peggie's Place has prams and carriages including a sensational handmade one made to look like a Model T! For the baby ready to stretch her legs we have a sweet, highly detailed walker. There is also a wonderful hobby horse with an extra long mane and tail who looks like he just stepped down from an old fashioned merry-go-round, and a fine stick horse showing a lot of attitude!

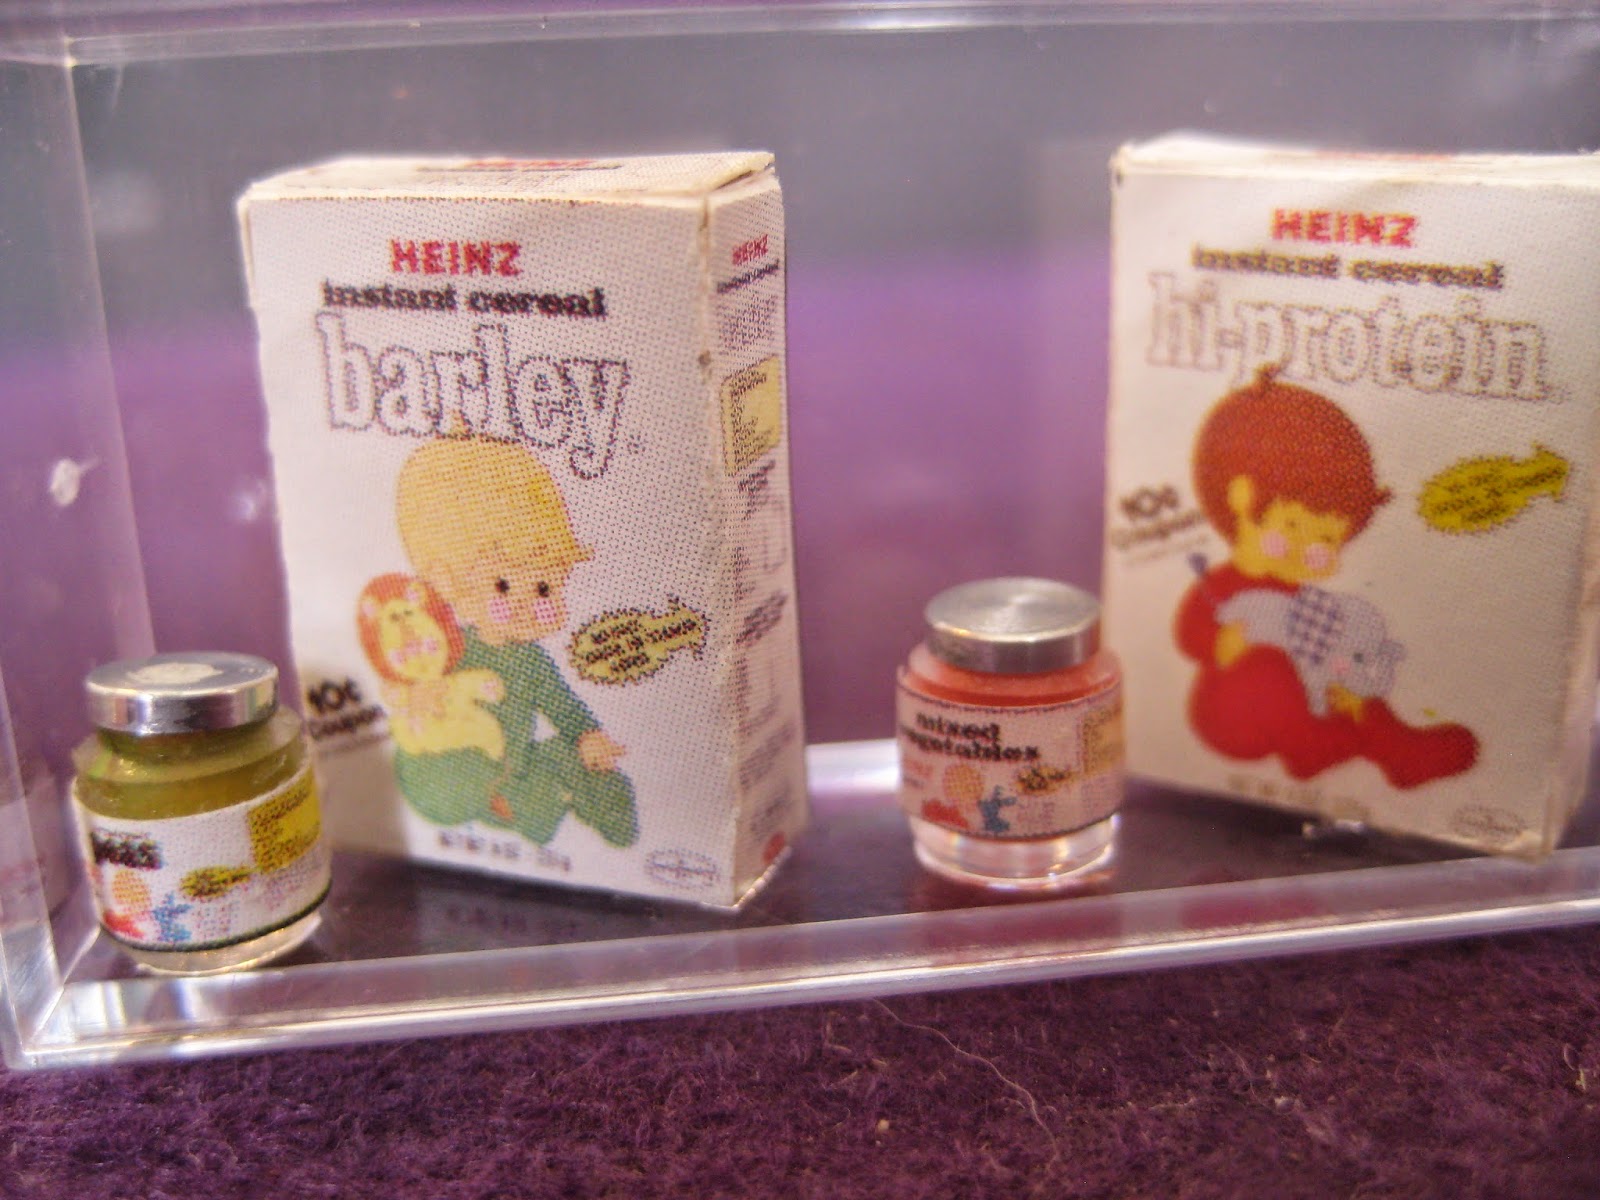
The high chairs are beautiful and as the other items, come in a variety of styles, some with cushions for comfort. We also have food. And toys! And when little ones are done sleeping, eating and riding the hobby horse there are pull toys to keep them occupied.
You'll find a number of finely detailed miniatures of young children in the shop, in resin and other materials, and you'll certainly see one to capture your imagination. We are excited about our nursery collection and look forward to your visit. A special nursery display will be at the front of the store in May to commemorate mothers and babies and provide some ideas for celebrating them.
We hope to see you soon!
Michael Sue Nanos
Proprietor


